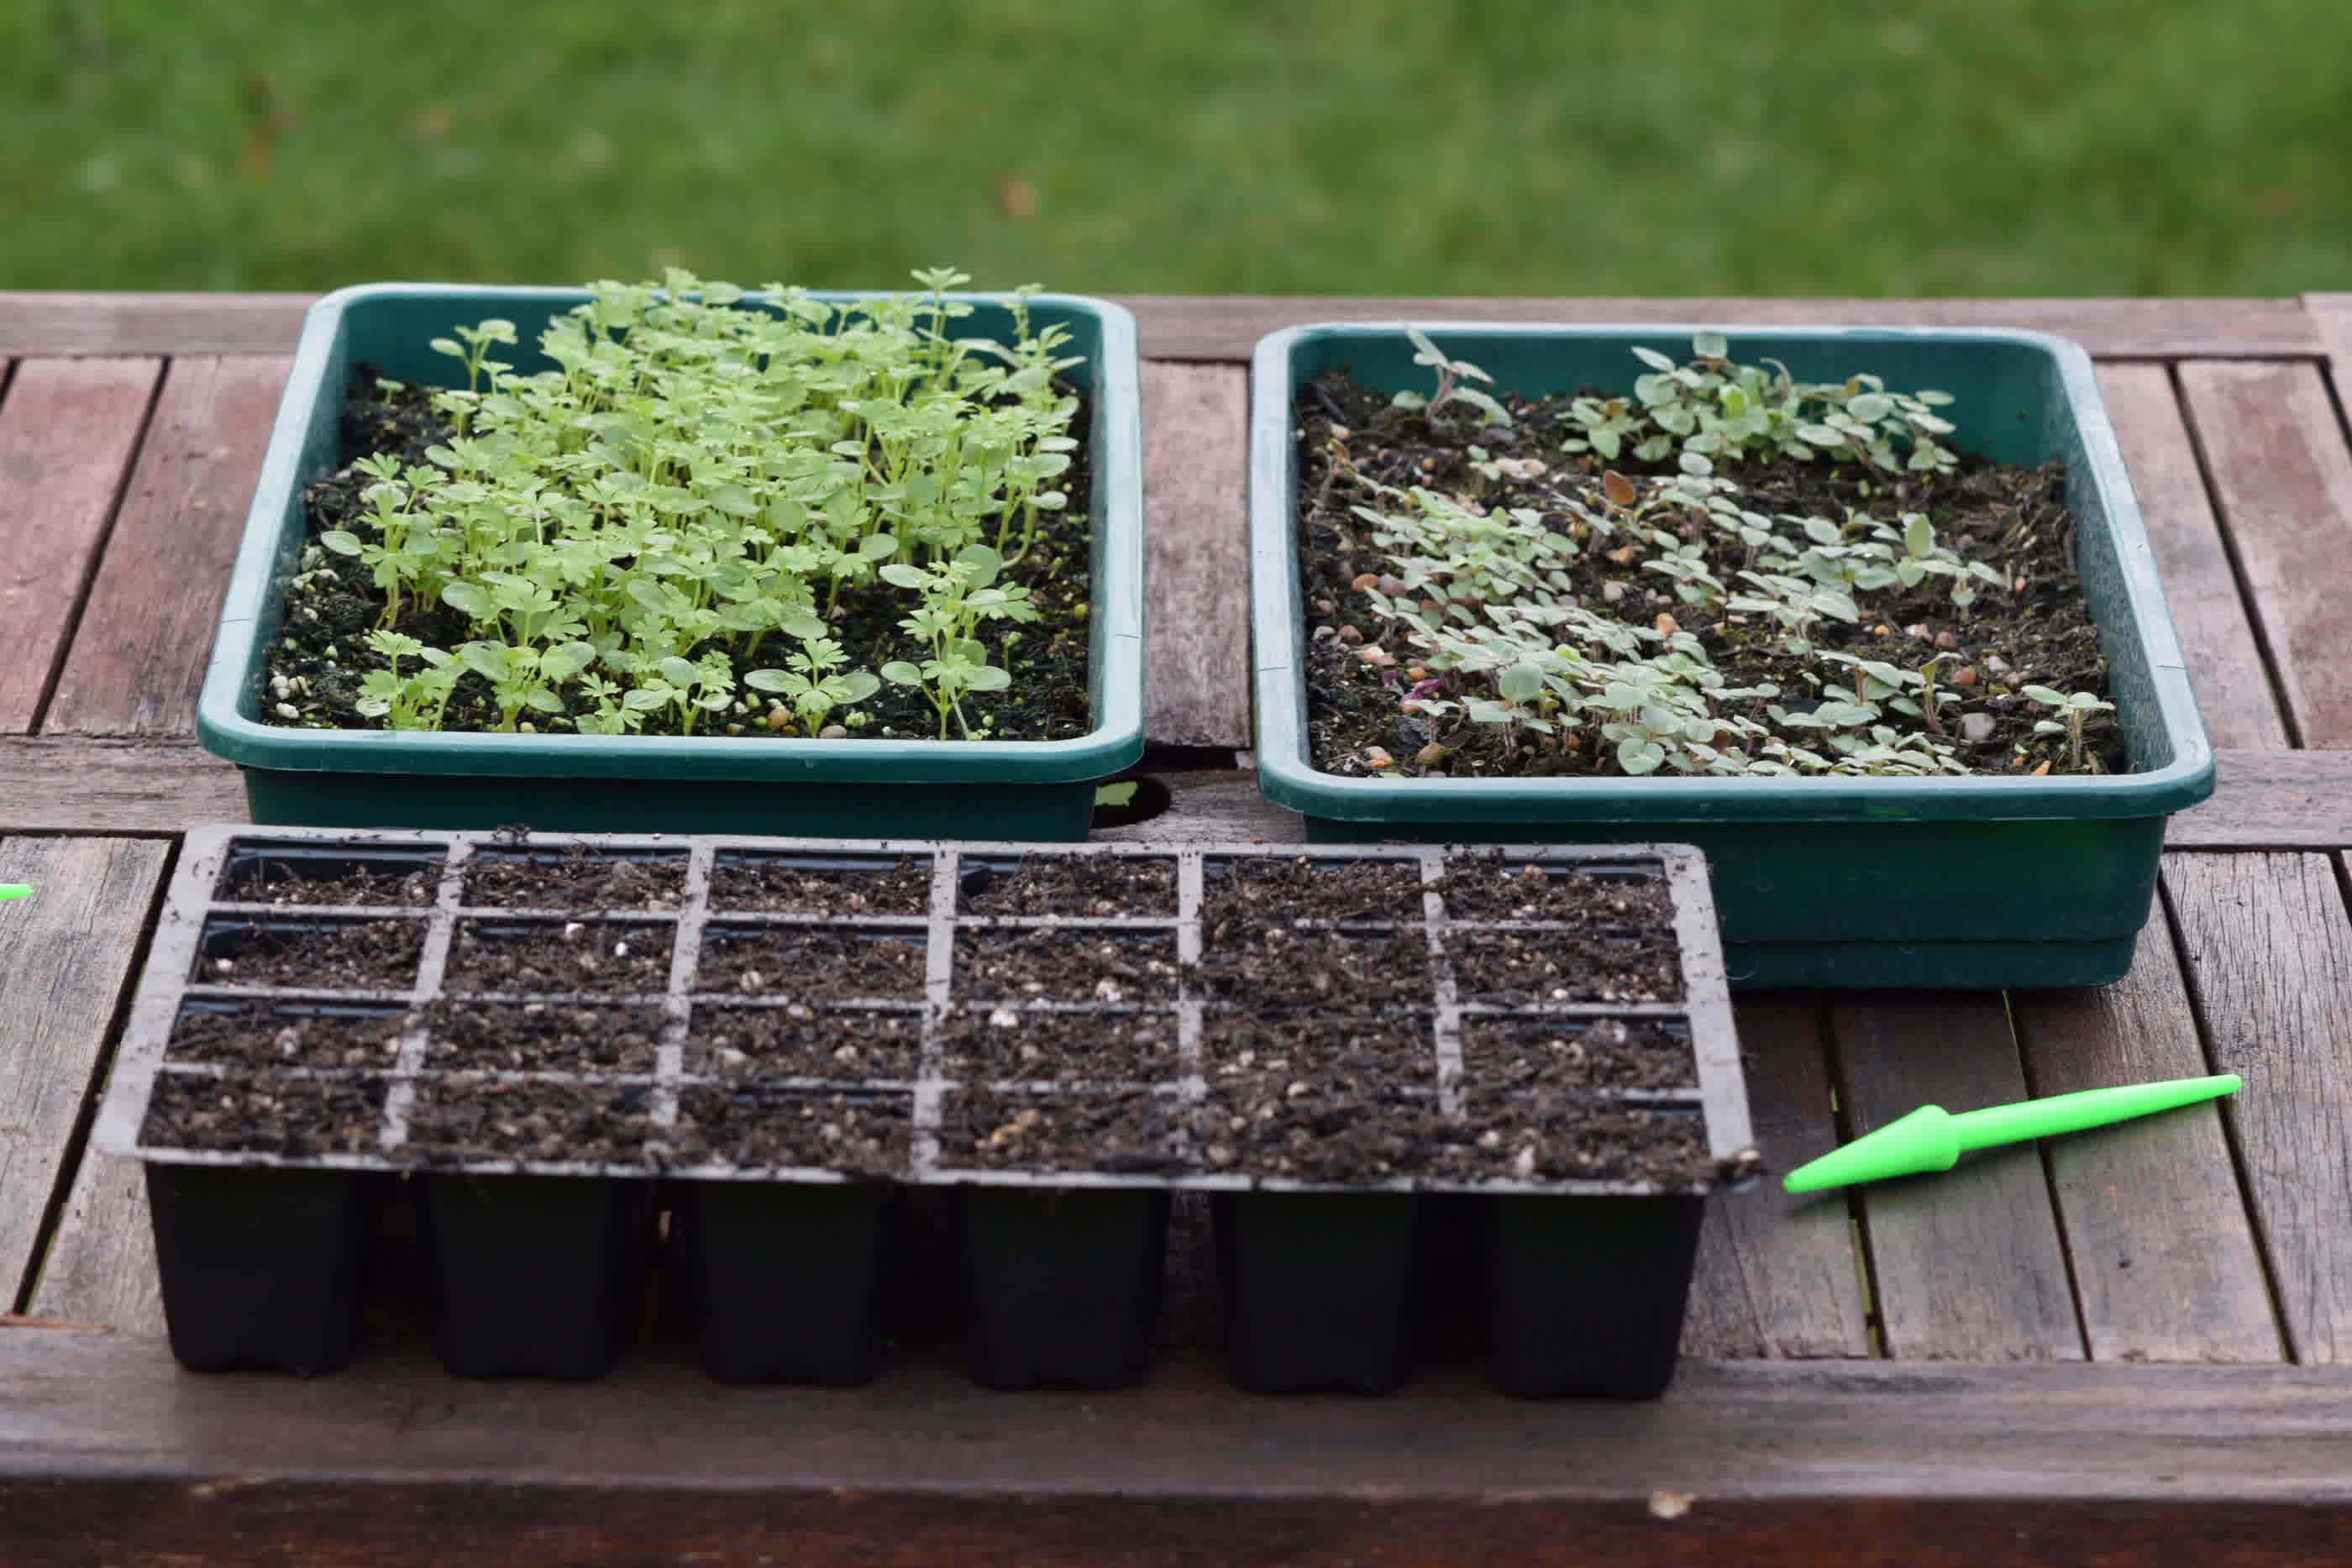
Pricking Out Seedlings
Have you ever wondered what it means to "prick out seedlings", or perhaps you've recently sowed seeds of your favourite plant and need to know how and when to prick them out? In this guide, I'll detail everything you need to know to get the job done.
What does it mean to prick out seedlings?
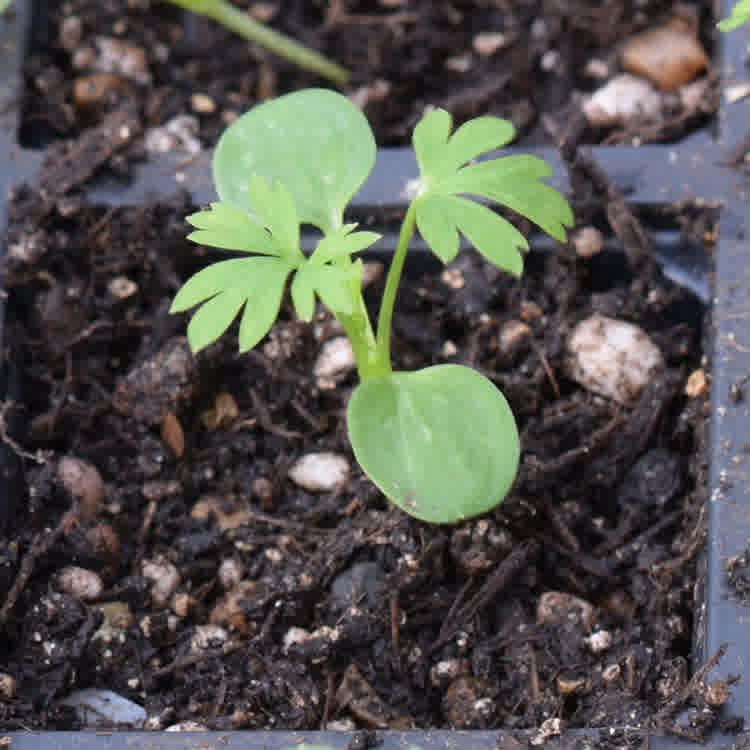
Pricking out seedlings is a gardening and horticultural practice that involves transplanting young seedlings from their original germination container or seed tray into individual pots or cells.
The image above shows a larkspur seedling which has just been "pricked out" of its germination tray and placed into its own cell.
Why and when should you prick out seedlings?
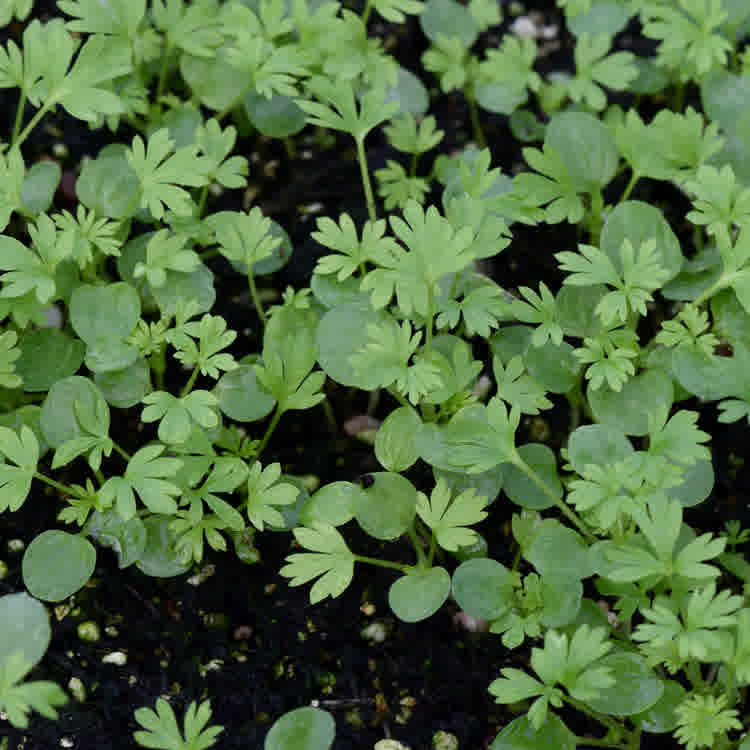
Pricking out seedlings from containers is crucial for raising healthy and vigorous plants.
The timeframe to do this will depend on the plants you have sown.
However, the seedlings should be large enough to handle, but not before they have their first set of true leaves.
True leaves will resemble the look of the adult plant leaves. Whereas the first pair of leaves to form after germination typically do not, these are called cotyledon leaves.
Below are reasons why you should prick out seedlings.
Prevents Overcrowding
When seeds are initially sown in a common tray or container, multiple seedlings often emerge in close proximity. Pricking out helps prevent overcrowding, ensuring each seedling has enough space to grow without competing for light, water, and nutrients.
Promotes Stronger Growth
Transplanting seedlings into individual pots or cells allows them to develop a more extensive root system. This promotes stronger and healthier growth, enhancing the overall vitality of the plants.
Selective Growth
Pricking out enables you to choose the healthiest and most robust seedlings for further growth. This selective process helps eliminate weaker or less viable plants, ensuring that only the strongest specimens are grown to maturity.
How to prick out seedlings?
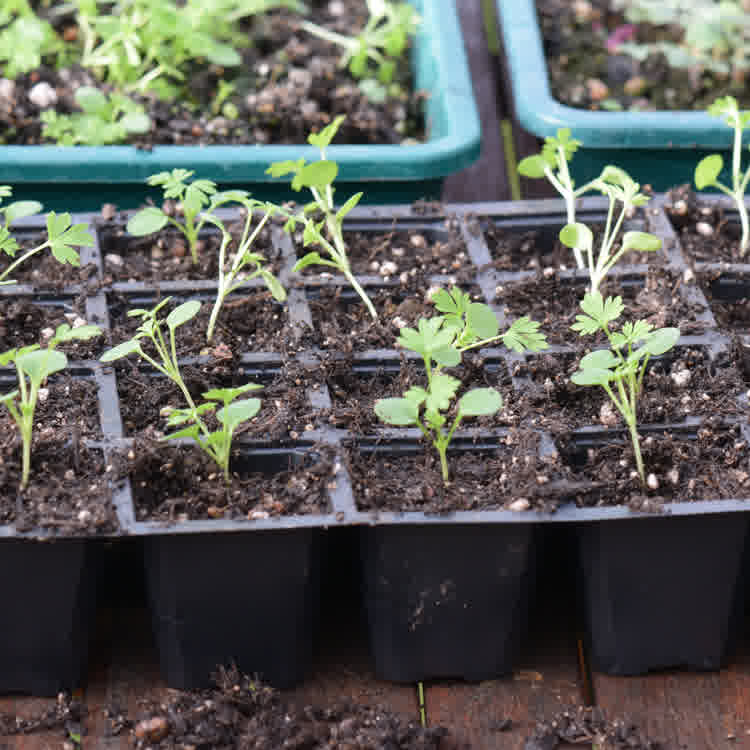
Let's get straight to it. Below are the steps required to prick out seedlings.
Water the Seedlings
Water the seedlings in their original tray or container. This helps to moisten the soil and makes it easier to remove the seedlings without causing damage.
Prepare Individual Pots or Cells
Fill individual pots or cells with fresh potting soil. Make sure the soil is well-moistened but not waterlogged. Use a dibber or a similar tool to create a hole in the soil of the new container. The hole should be deep enough to accommodate the roots of the seedling.
Loosen the Soil
Using a dibber, or similar tool, gently loosen the soil around the base of the seedlings. Be careful not to damage the delicate roots.
Separate the Seedling
Carefully lift the seedling from the tray. Hold the seedling by its leaves to avoid damaging the stem or roots.
Transplant Seedlings
Place the seedling into its new container or cell, gently lowering it into the hole so that the roots are well-covered with soil. Be careful not to bury the seedling too deeply. Gently press the soil around the base of the seedling to secure it in place. Ensure that the seedling is stable and upright.
Water Newly Transplanted Seedlings
Water the seedlings in their new pots or cells to help settle the soil and eliminate air pockets. Avoid overwatering, but ensure the soil is evenly moist.
Summary
By following these steps to prick out seedlings, you will provide them with the space and resources they need for healthy development before being planted in their final growing locations.
